Pages

Showing posts with label final. Show all posts

Friday, October 19, 2012

Interaction - Creative Coding 142

Final...

Just a compilation of what my interaction can do.
My final interaction uses the mouse to create different aesthetic kinetic images.
This interaction I explored the difference between control and interaction. My design does include some control after you have discovered all the various interactions that the mouse can provide, but there are endless variation that be created thus only making it partial control. And once you click the mouse buttons and the particles start to act uncontrollably makes for a fun and unexpected experience.
This is my final and its called THE BIG BANG!!!

Friday, August 24, 2012

Structure and Noise - Creative Coding 142

Final

Structure:

This is my structured composition as you can see. I wanted to work with circles since a circle is a very symmetrical shape as it revolves around a point making it a very structured shape compared to many other shapes. So I wanted to see what I could do to distort them and transform them into noise and into something unrecognisable to a circle. I added in a stroke to the circles that is the same as the fill, but not opacified like the fill of the circles. I decided on this blue from my inspiration image of a possible colour palate. This used this bold coloured stroke to make my circles pop out from the black background and not melt into it.

Structure + Little Noise:

I still kept the original layout of the repeating circles on the x and y axis, but added noise in the form of extra circles transformed by the random function to make ovals overtop the existing circles. Also if you look closely enough you can make out that although I have kept the existing layout I have also made the first layer of circles into wonky vertical and horizontal lines. Thus introducing noise into my composition.

Noise + Little Structure:

I added another ellipse to the mix to create an increase in the noise of the composition. I also made the random function for the last layer have a wider variation in the sizing of the ellipses. After I had done that it didn't seem like enough change had happened so I increased the wonkyness and the random function to change the variation in the widths and heights of the first layer. And this was the result. This I thought was a good composition for the second to last image as it showed more the noise of the ellipses but still a little but of structure was left in the composition (but not much).

Noise:

Finally there was no more structure left and all that is present are the curved lines of the ellipse overlapping each other left due to increasing the variation in sizing and layout (wonkyness). The composition that I had stated with is no longer present at all which is what I wanted to achieve. The overlapping ellipses that are all opacified down creates an aesthetically pleasing composition due the different variations of blue that the layering has caused. Also the thin stroke enhances the aesthetics to create a messy yet artistic look about it. This is so contrasted against the boring structured look of the first composition.

Final Assembly of all 4 Compositions:


In the assembly of all four compositions you can notice the transformation taking place from a very structured composed image to a very loud and noisy composition. Along with this transformation you can see a gradual inclination of a gradient taking place. To make my transformation effective I made my structured image very unoriginal where all you notice are the neatly formed rows of circles seems void of expression and is very organised whereas in the noisy image you can see that the ellipses have become disorganised, multiplied and grown into a composition full of expression and emotion to create a uniquely-vivid noisy composition. I am very pleased with my outcome and now can now understand the coding for looping a lot better than I did at the start where I was pretty much lost.

Tuesday, May 8, 2012

Flash Animations

First Test:

Getting use to using flash and making a short general animation to what I want to show.


Close Final

Including sound to animation and I feel that by adding in a glow filter it communicates my word better to its audience.


Final Animation:

This is my complete animation of my One Word Film. This final animation has the same basic concept from my brainstorm storyboard, but is different to my storyboard as I had decided to include a glow filter as seen in my close final. I really believe that the sound makes my animation effective. However it also brings across the essence of my word without sound just as well. The ending that I had decided on this final animation I believe brings the whole animation together making it very effective.


Monday, May 7, 2012

One Word Film - Final Storyboards

Final 3 Storyboards:

I developed these 3 storyboards from 3 of my brainstorm ideas.


Snake:

I chose to use snake as 1 of my final words as i really liked the idea of using a classic old game and creating something new from it. I used the letter of my word to create the snake itself and as the animation continues the letters are collected along the way and attaches to the tail of the snake to create the word. I also thought that this word holds a lot of room for development, especially with the font.


Glue:

I really liked the idea of making having the words stretching and stick together so I decided to use the word Glue as 1 of my final storyboard ideas. There is also area for me to play around with this word further through developing the fonts and the directions that the letters enter in the stage.


Light:

The word Light provided me with room to explore different ways to express the essence of the word. I liked the idea of using negative space to show the word, as this is more effective. I chose to do this word for my final animation because I know that if I communicate the word Light across right the animation will be very effective.


One Word Film - Storyboards

Brainstorm Mini Storyboards

I brainstormed 8 mini storyboards on words that I word could possibly use for my final.


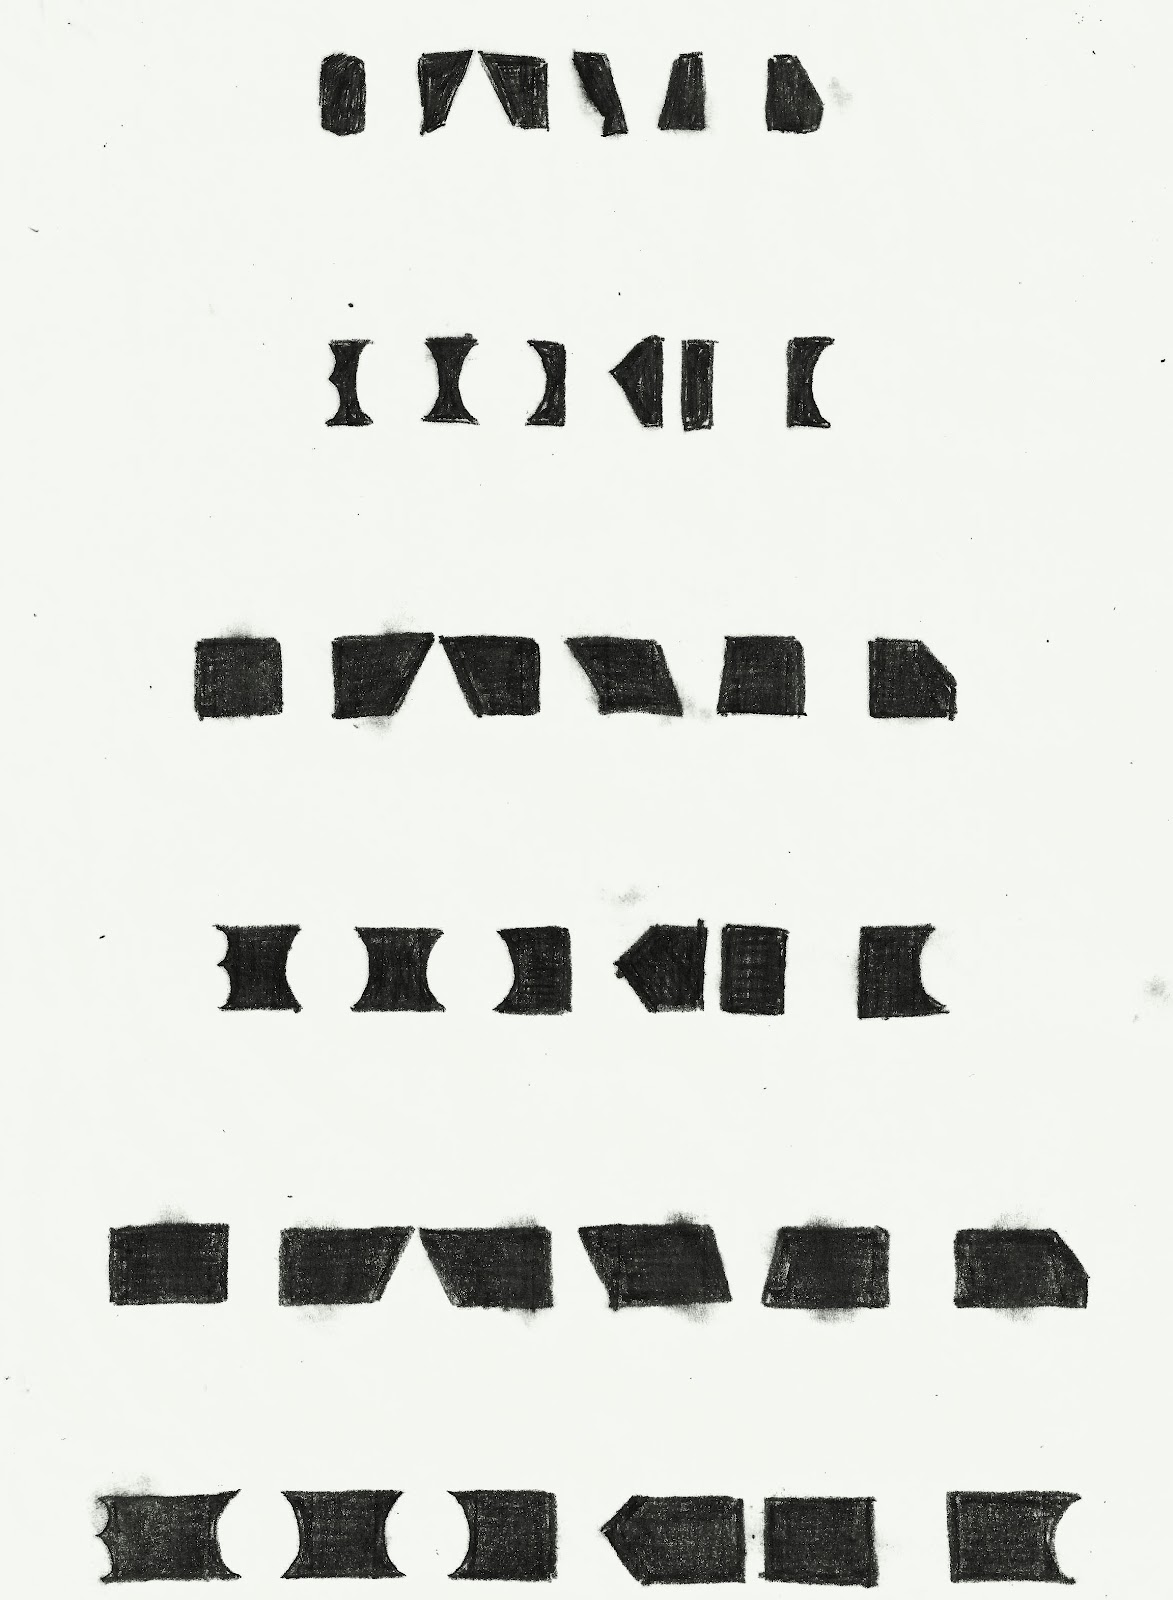
Kerning

Original Letters Rearranged:

In the first image we worked with san-serif and serif fonts to test out how different kerning spacings effects the different fonts. Starting out with very small kerning spacing between the letters at the top of the page and ending with bigger kerning spaces at the bottom of the page. The serif font looks best with medium kerning spaces, as it is the easiest to read. The san-serif font looks most effective with small kerning spaces, as it draws your eye in more and this makes it easier to read rather than having bigger gaps between the letters where nothing draws your attention to the next letter and so on.


Hatching in Kerning Spaces:

Using tracing paper we hatched in the gaps between the letters to show the how kerning influences the way we perceive and read a word. The shape and width of a letter influences how far away the letters are from each other to create even kerning spaces, so that the word is easier to read.